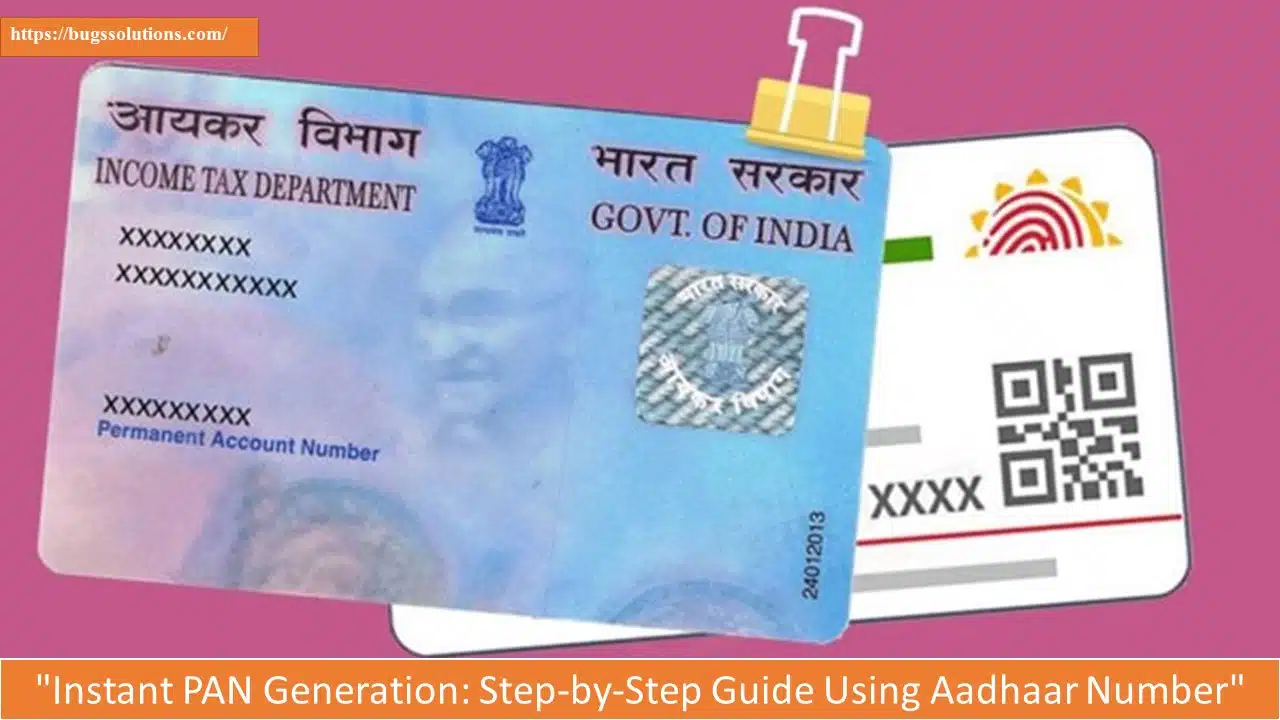
The Income Tax Department issues a PAN card, or Permanent Account Number, to every Indian citizen for use in taxation and other identification-related matters. For many purposes, such as getting a gas connection and opening a bank account, the PAN card serves as official identification verification and a photo.
A Permanent Account Number (PAN) card is a unique 10-character alphanumeric identifier issued by the Income Tax Department in India. It is primarily used for financial and tax-related purposes.
All SIM Mobile number check( Vi-Airtel-Jio-Bsnl )
The Income Tax Department can identify and link all of the PAN holder’s interactions with the department thanks to the PAN. These transactions cover things like tax payments, TDS/TCS credits, income returns, certain transactions, correspondence, etc. It enables quick access to PAN-holder information and the matching of different investments, borrowings, and other PAN-holder business operations.
The procedure of verifying, printing, and mailing an actual PAN card, however, can take some time. If everything is in order, it usually takes two weeks to process the application and send out the PAN card.
The Income Tax administration is providing e-PANs in order to speed this process.
What is E-PAN Service
immediate PAN card distribution is now possible with the help of the e-PAN service. The cards are distributed to applicants who have a valid Aadhaar number almost immediately. A digitally signed card in digital form, an e-PAN depends on the e-KYC data from Aadhaar. PAN cards are prepared and given to applicants without charge in PDF format.
Getting an e-PAN card
- Access the Income Tax Department’s e-filing website at https://www.incometax.gov.in/iec/foportal.
- Locate the Instant e-PAN link on the e-Filing portal’s home page.
- Next, select Get New e-PAN from the e-PAN page.
- Type the 12-digit Aadhaar Card number into the application page.
- Next, click “Continue” after checking the box indicating your agreement.
- Next, select I have read and agree to the terms of permission on the OTP validation screen. Once more, press “Continue.”
- Enter the 6-digit OTP received on the mobile number associated with your Aadhaar card on the OTP validation screen.
- Check the option to confirm the Aadhaar information with UIDAI, then click “Continue” once more.
- Select the “I Accept” checkbox on the Validate Aadhaar Details page and then click “Continue”.
- Following submission, a success message and an Acknowledgement Number will appear on the screen.
- The options to view and download E-PAN will appear next. Choosing the download option.


